• Skip to primary navigation
  • Skip to main content
Mrs Frosts Kitchen

Mrs Frosts Kitchen

Deluxe outdoor dining experiences Gold Coast Hinterland farm

  • About Mrs Frost
  • Kitchen Conversations eMagazine
  • Things to buy from the pantry
  • Hot off the Press!
  • Recipes
  • Contact
  • Cart

Pies & Tarts

Grandma’s Jam Drops

August 3, 2021

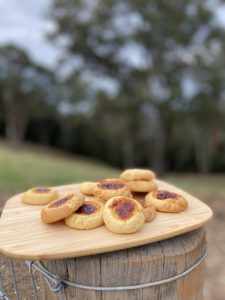
These old fashioned biscuits hold huge sentimental value for me.

I stood on a chair in my Grandma Calvert’s kitchen, aged 7, while she taught me the finer points of making these simple biscuits of comfort.

They were always a reliable staple in her ancient cake tin on the top of her fridge, to be stolen whenever she wasn’t looking and, as an adult, have made countless batches for friends (and myself) who have needed comfort and cheer.

I have since inherited Grandma’s old cake tin and lovingly filled it to overflowing with jam drops to share at her funeral.

With a cup of tea, they bring Grandma back to me every time.

A tray of homemade jam drop biscuits

Ingredients: 

  • 120gm very soft butter
  • ½ cup castor sugar
  • 1 egg
  • 1 tsp vanilla essence
  • 1 ¾ cups self-raising flour
  • Pinch of salt
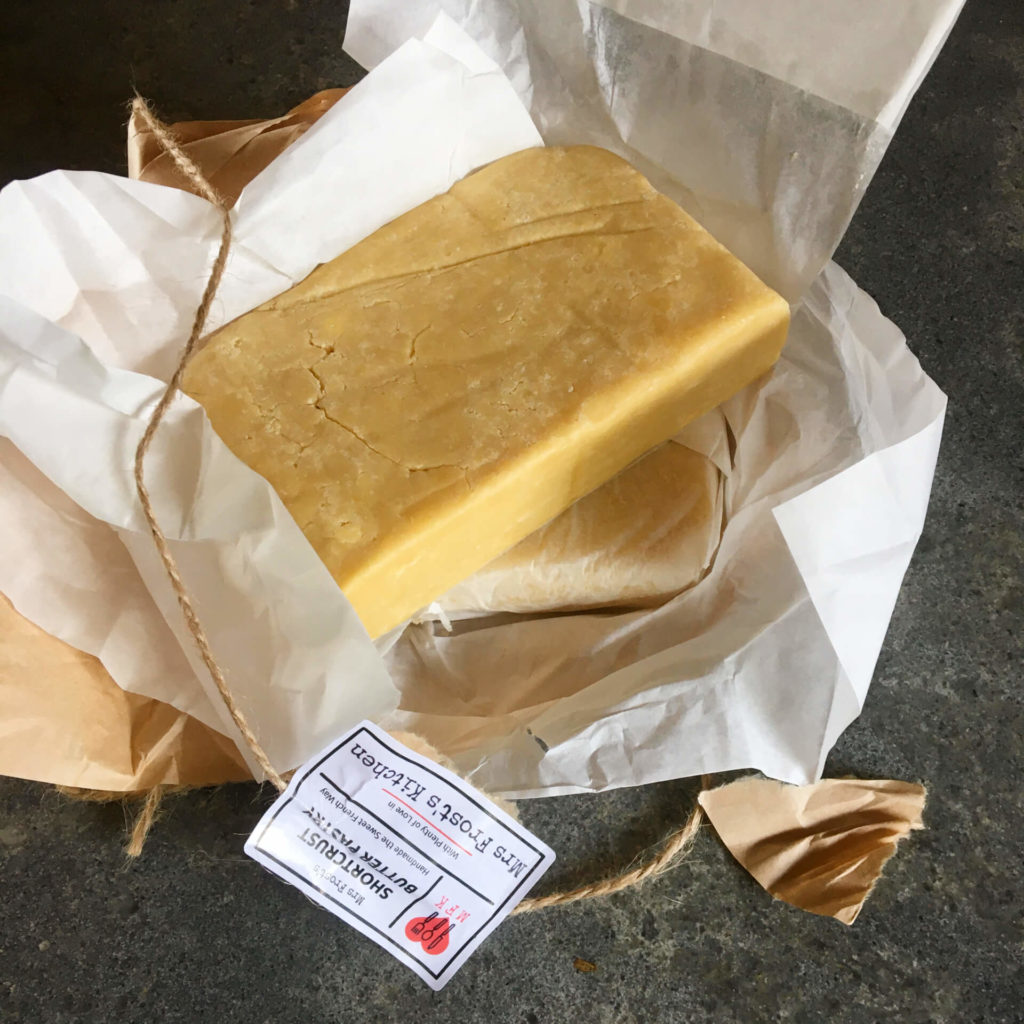
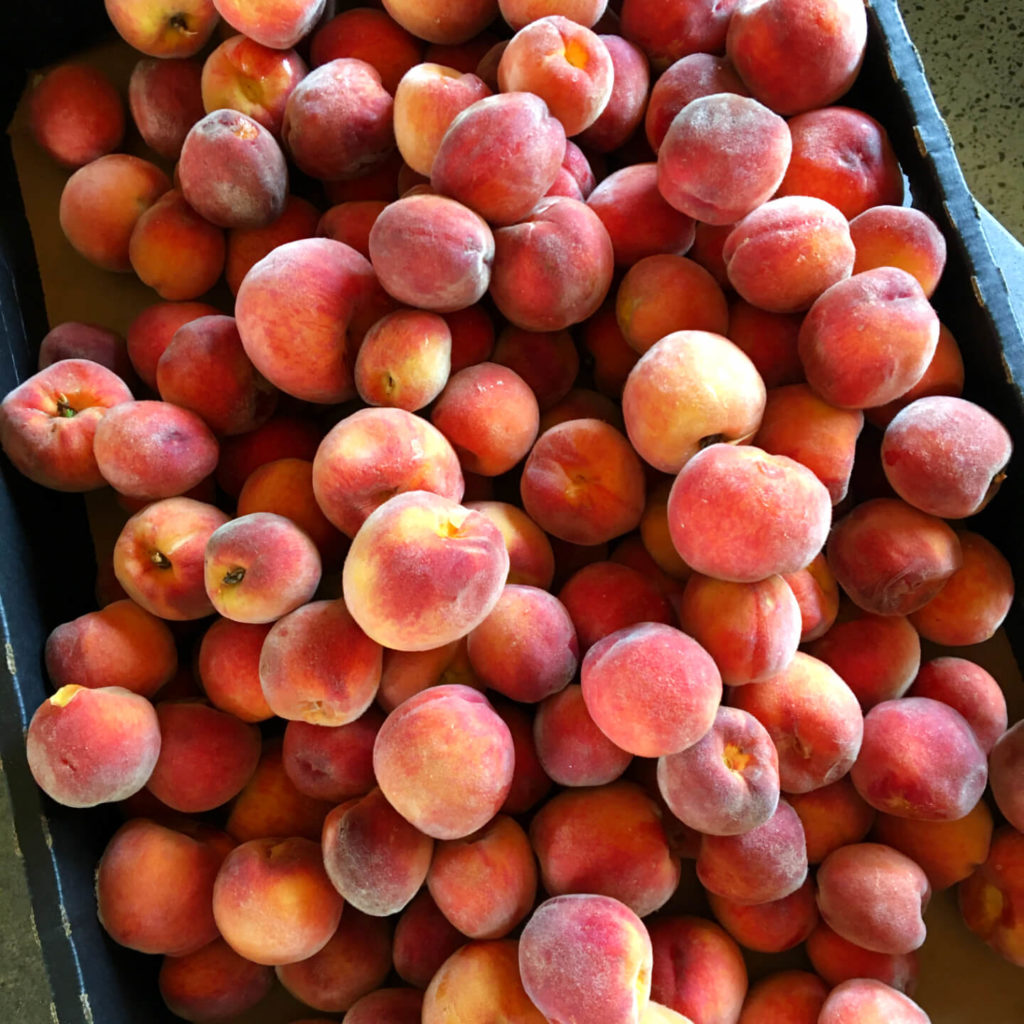
  • About 1/3 cup any type of jam (MFK apricot jam is good)

Method: 

  • Pre-heat the oven to 180C fan forced. Line a large biscuit tray with baking paper, you may need 2 trays as this batch makes approx. 40 jam drops.
  • Beat butter and sugar until pale and creamy. Add the egg and beat it in well, then the vanilla. Reduce the speed of the mixer and slowly add in the flour and salt until it’s a stiff paste.
  • Take small dessert spoonful’s of mixture and roll into balls with your hands and place on the lined trays with good spacing between each, they spread quite a bit as they cook.
  • Make a hollow in each ball with a small thumb or the back of a tsp measuring spoon, deep enough to hold ¼ tsp of jam in each. Fill each hollow with jam and bake in the oven for about 12-15 minutes or until lightly golden.
  • The jam is HOT so let them cool a little before enjoying with a cup of tea or glass of cold milk.
  • Store in your Grandma’s cake tin or similar. They freeze beautifully too, so why not make a double batch!

Filed Under: General, Pies & Tarts Tagged With: biscuits, Grandma biscuits, jam drops, sweet treat

Sweet French Shortcrust Butter Pastry

January 6, 2020

This is a delightfully crispy, buttery and lightly sweet pastry perfect for making tarts and pies with. I blind bake a tart shell days in advance ready to fill and devour when I have guests over. Or if I’m making little mini tarts filled with my cointreau and orange sweet fruit mince, I don’t even bother pre-baking, I just whack them in the oven to bake all in one go! After I have cut my shapes for tarts I’m left with odd shaped little scraps which, when baked for 12 minutes on a tray and dusted with icing sugar whilst still warm, make excellent morning tea biscuits for my husband to enjoy with his coffee. And in it’s raw state, a lump of this pastry freezes beautifully for up to 2 months so I always have a few frozen single tart sized pieces ready to thaw and roll out for a short notice dessert.


A block of uncooked Sweet Butter shortcrust pastry can be stored for 2 months in the freezer
Uncooked Sweet butter shortcrust pastry after rolling out and lining a tart tin
Sweet butter shortcrust pastry after it has been blind baked in a tart tin

This recipe makes enough for a 24cm loose base quiche/tart tin, leaving enough scraps for decoration or biscuit making.

Ingredients:

  • 200 gm Plain flour 
  • 25 gm Almond meal 
  • 100 gm very cold butter. Cubed. 
  • Small pinch of salt 
  • 75 gm Icing sugar 
  • 1 small egg or exactly 35 gm of egg, lightly beaten, chilled. 
  • Possibly 1-2 teaspoons of iced water. Maybe! 

Making pastry: 

It’s easy but there are some critical technicalities. Namely make every ingredient very cold first and keep returning your pastry, in all its stages, to the fridge, especially in our hot Australian summer weather! 

In a food processor and using the blade accessory, pulse the flour and diced cold butter until only just like clumpy sand. Add the salt, almond meal and icing sugar and pulse for another 10 seconds. 

Whilst running on a slow speed, add the very cold beaten egg. The pastry should start to come together and begin to ball up in the processor bowl, be patient it will happen suddenly. If it doesn’t quite make it, add little sips of the iced water and just as it’s balling up… STOP. Work quickly and tip the whole pastry mess onto a spread-out piece of cling film on the bench. With your hands, lightly pull the dough together into a thick round disk, wrap fully in the plastic film and put it in the fridge for at least 45 minutes, even overnight if preferred. (Actually, I’ve left mine in the fridge for 5 days at this stage of the game, without it suffering in quality or performance)

Blind baking your tart shell: 

Pre-heat the oven to 180 deg C. Lightly spray the tart tin with cooking oil. 

Unwrap your chilled pastry disk and sandwich between two sheets of baking paper on the bench. Working quickly, use a rolling pin, roll out the pastry to make a circle evenly 3-4mm thick and larger than your tart tin.  

Pick up the dough over the rolling pin and lay it over your dish. Gently push the pastry down into the dish, up the walls and into the corners, be careful not to stretch it. Pinch, mould, repair holes and add bits as required, rustic is all the fashion! Chill in the fridge for another 30 mins. 

Remove and with a fork, prick the pastry on the bottom of the dish, lots and lots, 20-30 times. Put it in the oven and blind bake for 12 minutes until very lightly coloured. 

Now relax. This blind baked shell, still in its tart tin, will keep in an airtight container, in the fridge for a few days until you are ready to fill it. 

Head from here over to my Summer Peach and Rose tart, as featured in the latest edition of Scenic Road Magazine, for the perfect way to use your freshly baked tart shell!


Filed Under: Pies & Tarts Tagged With: Pastry for tarts, Shortcrust pastry, Sweet Pastry

Summer Peach and Rose Tart

January 6, 2020

Deliciously sweet summer peaches and the exotically heady perfume of rose water is a match made in heaven- a flavour combo that will keep your guests swooning with delight … and guessing!  

Fresh velvet skinned peaches from Mount Tamborine
Fresh Tamborine Mountain Peaches without their velvet skins

Serves 8-10 people 


Ingredients: 

  • 500gm of fresh peach flesh, deseeded, skinless. Equates to approx. 800gm unprocessed fruit. Easy skin slipping method below. 
  • Catch the peach juice and retain as you process the fruit. 
  • 1 tsp vanilla extract 
  • Juice of half lemon 
  • 2 tbsp. castor sugar 
  • 1 tbsp. Cornflour 
  • 100 ml combined of retained peach juice and water 
  • 80ml rose water 
  • 1 sheet of store–bought readymade shortcrust pastry. But if you would like to make your own totally-worth-it deluxe pastry, check out my recipe for Sweet French butter Shortcrust pastry in the recipe section on this website.


Making the filling: 

Slip the skins off the whole peaches by blanching them for 3 minutes in a saucepan of boiling water. Spoon them out into a bath of iced water and gently ‘slip’ the skins off with your hands when they’re cool enough to handle. Try to buy peaches that come easily away from the seed, and cut the flesh into eighths wedges. Reserve any fruit juice you can, add enough water to bring the liquid total to around 100ml and mix this with the cornflour in a little separate bowl, to a runny paste. 

In a medium saucepan, add the processed fruit, cornflour paste, all the remaining filling ingredients except the rose water and bring to a quiet boil, stirring gently so as not to break up the fruit too much.  Stir in the rose water. Put aside to thicken and cool completely.  

 Blind baking your tart shell: 

Pre-heat the oven to 180 deg C. Lightly spray a 24cm Loose base quiche/tart tin with cooking oil. 

Separate out a sheet of pastry from the freezer and leave to thaw slightly on the bench until just pliable.  

Pick up the dough over a rolling pin and lay it over your tart tin. Gently push the pastry down into the dish, up the walls and into the corners, be careful not to stretch it. Trim, pinch, mould, repair holes and add bits as required, rustic is all the fashion! Chill in the fridge for 30 mins. 

Remove and with a fork, prick holes in the pastry on the bottom of the dish, lots and lots, 20-30 times. Put it in the oven and blind bake for 12 minutes until very lightly coloured. 


Now relax. This blind baked shell, still in its tart tin, will keep in an airtight container, in the fridge for a few days until you are ready to fill it. 

Bringing it all together! 

Pre heat the oven to 180 deg C. Spoon the fruit filling into the pastry shell, sprinkle the top with a little castor sugar and bake in the oven for approx. 20 minutes or until the pastry edges have browned a little more. 

Cool on a cake rack, pop the fluted sides away, slide the round metal base out and centre the tart onto a cake stand or plate. This is all a bit of a juggle and nerve wracking but worth being delicate because it will look beautiful when complete. Decorate if desired with a dusting of icing sugar, flowers, leaves, fruit or nothing at all. Serve slices with a big dollop of cultured crème fraiche or double cream. 

Filed Under: General, Pies & Tarts Tagged With: peach tart, Peaches, rose water, Shortcrust pastry, Sweet tart

Deep-Dish Spinach & Feta Pie

October 30, 2019

This is the main course lunch pie I make for my Paddock Picnic guests. It’s pretty simple, hearty and yet light and a mighty flavoursome vegetarian dish. I have also made Gluten Free and meat-eater versions so use your imagination and add whatever takes your fancy.

This recipe will make one large 23cm or four small 11cm spring form cake tins and will generously feed 8 people served with a fresh green side salad.

Ingredients for the shortcrust pastry

  • 2 1/2 cups plain flour (Spelt flour if wanting GF)
  • 1 tbsp black sesame seeds
  • 1 tbsp flax seeds
  • 1 tsp sea salt
  • 120gm cubes of cold butter
  • 1 chilled egg
  • a little iced water

Ingredients for the pie filling

  • 1 bunch of green shallots, finely sliced and chopped
  • 215gm blanched and squeezed spinach, silverbeet, chard or whatever green leaves. Blanching method below. Cheat and use store bought frozen if you wish.
  • zest from 2 lemons, oranges or any citrus.
  • 200gm danish feta cheese crumbled into largish chunks
  • 1/2 cup finely chopped green herbs- parsley, thyme, basil or whatever
  • 9 large eggs
  • 230ml pouring cream
  • 1/2 tsp salt
  • 1 tsp ground white pepper
  • 1 tsp ground nutmeg

How to make it

Pastry is first and can be done the day before and stored in the fridge.

Place the flour, seeds and salt in a food processor and blitz for 30 seconds.

Add the cold cubes of butter and pulse with the flour mix until it resembles a fine crumb texture.

Add the egg and pulse again until it just comes together, if it doesn’t, add little sips of the iced water until it does.

Divide the pastry into 4 equal blobs (if using small tins) or leave as a single blob and hand shape into a fat disk. Wrap them closely with cling film.

Pop the pastry in the fridge for at least 30 minutes or until you are ready to roll it out. Overnight in is fine.

When you are ready to bake the pies, preheat the oven at 180 Deg. and lightly grease the tin/s making sure to do all up the sides of the tin.

Blanch your green leaves by dunking into a pot of boiling water for a few minutes, drain and cool under running cold water. Tightly squeeze the excess water from the greens and thinly slice and chop them. Or DEFROST your store bought spinach.

In a large bowl add ingredients 1 to 5 and mix gently but throughly, try not to crush the feta chunks into mush too much.

In another bowl, beat together ingredients 6 to 10.

Remove the pastry from the fridge and let soften for 5+ minutes and roll out on a baking-paper covered bench until about 3mm thick. Sit your tin lightly on the pastry and trace a circle slightly larger than the base. Cut out and place in the bottom of the tin. I then cut wide strips of pastry to further cover the tin walls. Try to use as few separate pieces as possible but a patchwork effect, pressed and joined with fingers is perfectly fine and adds to the rustic look. Return the pastry lined tins to the fridge while you complete the filling.

Add the egg mixture to the greens mixture bowl and fold with a spatula until well combined. Fill your chilled and firm pastry-lined tin with ladles of the filling, up to a minimum of 1cm from the top lip edge. Bake in the oven for 45 minutes or until golden and it very slightly wobbles when touched in the middle. Let it settle and cool while you toss your salad and then serve whole at the table, because it looks so good. Let your guests do the serving.

Or cool completely and freeze for up to 2 months. Defrost and bake again for another 20-25 minutes.

With love from,

Mrs Frost’s Kitchen xx

Filed Under: Pies & Tarts, Vegetarian

Dad’s Spare Oyster Pies

October 30, 2019

This is one of my Dad’s signature dishes, the one he rolls out when he wants to impress. And believe me, these decadent cheesy fresh oyster pies can’t help but impress your lunch guests! They are so more-ish I would definitely double up the quantity.

This recipe will make 4 individual Oyster pies.

Ingredients

1 Jar of 10-12 fresh oysters in sea water
25gm butter
20gm mature cheddar cheese
1/2 tsp cracked black pepper
1 tsp crushed garlic
2 tsp fish sauce
1 heaped tbsp plain flour
50gm cream cheese
1 cup milk
1/2 the oyster water from the jar. Approx 50ml.
1 tsp finely chopped lemongrass
2 sheets of frozen puff pastry

How to make it

Place butter, cheddar, garlic, fish sauce and pepper in a saucepan and cook on medium heat until golden in colour. Don’t be concerned if it sticks to the pan as it will dissolve when the milk is added.

Sprinkle the flour over the cheese sauce and continue to cook without stirring for 1 minute before mixing into a gooey mess.

Reduce the heat to low and add the cream cheese, milk, oyster WATER (not the oysters) and lemongrass. Stir, scrape and mash (perhaps with a potato masher) the mixture until it thickens which will not begin to happen until it nears boiling point.

Remove the thick cheese sauce from the heat and refrigerate until cold. This is important so as not to overcook the oysters at the pie assembly stage.

Pre-heat the oven to 220 deg C.

Generously grease 4 large muffin tins. Defrost the pastry and line the floor and walls of the tins and cut 4 slightly over sized circles of pastry for the lids.

Using half of the cold cheese sauce, spoon into the bottom of the 4 pie cases.

Drain the oysters, gently place them atop the bottom layer of cheese sauce, dividing evenly amongst the 4 pies.

Spoon the remaining cheese sauce over the oysters to within approximately 1cm from the top edge of the pie tin.

Lay the pastry lids on the top and seal the pie closed by pinching with your fingers or press with the tines of a fork. Pierce the lid with a bamboo skewer a few times to let the steam escape while baking.

Bake in the hot oven for 15-20 minutes.

Serve immediately with a fresh citrus dressed salad and a crisp white wine.

With love from,

My Dad, Gerry and Mrs. Frost’s Kitchen xx

Filed Under: Pies & Tarts

Signup

Please enter your name.
Please enter a valid email address.
Subscribe!

Thanks for subscribing! Please check your email for further instructions.

Something went wrong. Please check your entries and try again.

Where is Mrs Frost's Kitchen?

Only 30 minutes drive from the beach, my kitchen is at our Guanaba farm, nestled in the beautiful Gold Coast Hinterland, Queensland, Australia.

Call Julie Frost on 0414 783 564 if you'd like to know more.

© 2019 Mrs Frost's Kitchen